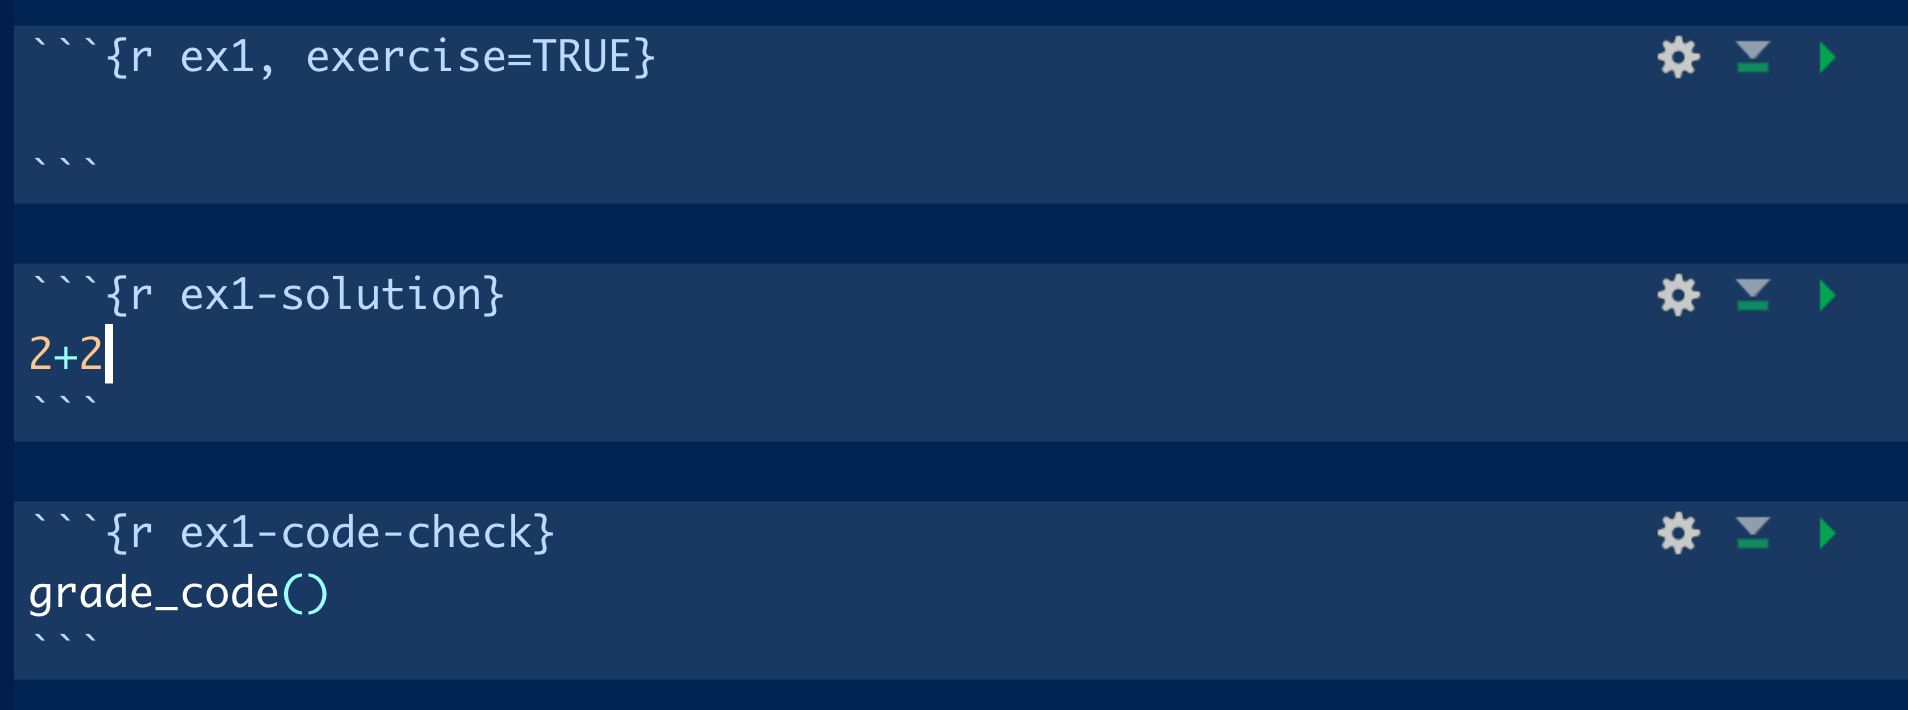
class: center, middle, inverse, title-slide .title[ # Extra slides ] .subtitle[ ## <br/> Shiny app translation and using learnr ] .author[ ### Megsie Siple ] .institute[ ### NOAA AFSC - RACE/GAP ] .date[ ### 2020/12/7 (updated: 2022-06-15) ] --- # Translating your Shiny app For wider utility, you can translate your Shiny app into other languages. -- `{shiny.i18n}` (from [Appsilon](https://appsilon.com/internationalization-of-shiny-apps-i18n/) ) provides translation for shiny apps -- ```r devtools::install_github("Appsilon/shiny.i18n") library(shiny) library(shiny.i18n) * i18n <- Translator$new(translation_json_path = "translations/translation.json") ``` --- # Translating your shiny app You can provide either a .json file with all the translations, or a CSV with a column for each language. -- The `i18n$t()` wrapper indicates text to be translated, e.g.: ```r sliderInput("bins", * i18n$t("Number of bins:"), # translation wrapper min = 1, max = 50, value = 30) ``` --- class: center, middle # Supercharge your remote teaching using Shiny tools: `learnr` --- # Using `learnr` `{learnr}` uses `runtime: shiny_prerendered` to turn Markdown files into live tutorials. -- This is great for writing code in a 'controlled environment' when you're: - teaching coding concepts remotely - demonstrating how a specific package is used - any situation where you want to remotely set up the environment --- # Getting started with `learnr` ```r install.packages("learnr") library(learnr) ``` To make a new tutorial from the RStudio IDE, go to New File --> R Markdown --> From Template --> Interactive Tutorial {learnr} --- # `learnr` tutorials - 1 A learnr tutorial is an .Rmd script a few additional features: 1. The output is a `learnr::tutorial` 2. The runtime (in yaml header) is `shiny_prerendered` 3. There is some `learnr`-related setup code 4. There are `knitr` chunks which have custom options such as `exercise` and `solution` (from Nischal Shrestha's, great blog post [Learning learnr](https://education.rstudio.com/blog/2020/07/learning-learnr/) ) --- # `learnr` tutorials - 2 You load the packages that people will need for the tutorial in the `setup` code chunk. ```r library(tidyverse) library(palmerpenguins) #load any packages here that you want to be part of the environment for everyone using the tutorial library(learnr) knitr::opts_chunk$set(echo = FALSE) ``` --- # `learnr` tutorials - 3 The `exercise = TRUE` code chunks in a `learnr` document contain exercises, hints, and solutions.  --- # More `learnr` resources Allison Horst's [post about learnr](https://education.rstudio.com/blog/2020/05/learnr-for-remote/) on RStudio Education Angela Li's [post on publishing learnr tutorials](https://cran.r-project.org/web/packages/learnr/vignettes/shinyapps-publishing.html) Desirée de Leon's [post on putting learnr tutorials in a package](https://education.rstudio.com/blog/2020/09/delivering-learnr-tutorials-in-a-package/) --- class: center, middle, inverse # 04_learnr/learnr_basics.Rmd --- class: center, middle # Shiny app publishing for NOAA affiliates --- # What if I am a NOAA employee? If you are building a tool for NOAA purposes, you should: 1. Host it on your NOAA GitHub account if it's a NOAA project. If not, host on your personal account and fork a copy to the NOAA account if necessary 2. Ensure good software design practices, including having documentation related to the code as well as a separate users guide 3.Structure your R code and folders consistent with a accepted best practices 4. Get a code review (this should ideally be someone who also can review the content, if there is a model in your `server.R`) 5. Include testing (and examples if it makes sense-- if it's only a shiny app and not a whole package, it may not be needed). Use a package like `testthat`. You can also use github actions to automate this in your repository *Modified from Corinne Bassin's recommendations to me* ---